.png?height=120&name=Untitled%20design%20(16).png)
This article describes how to navigate the Job list panel
This article contains the following sections:
- Full Screen
- Job Overview
- Search Jobs
- Filter Jobs
- Table View
- Bulk Assign and Cancel Jobs
- Reallocate Jobs/Recall Jobs
- Adding and Resolving Issues
- Create Jobs
-
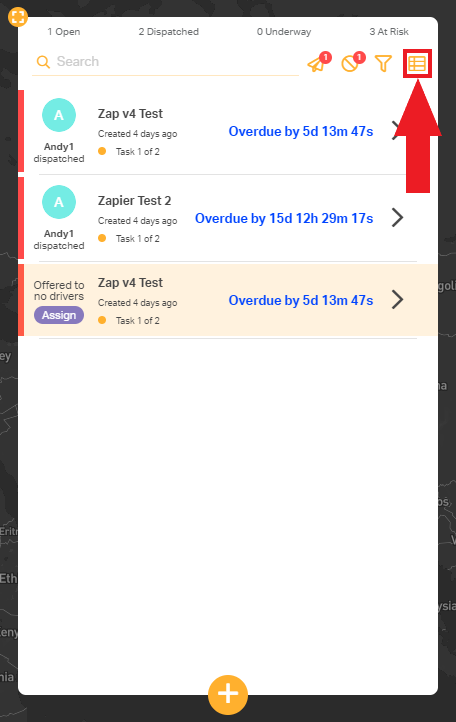
Full-Screen Job List
- To make the Job list panel full-screen, select the Full-Screen icon on the top left of the Jobs list panel
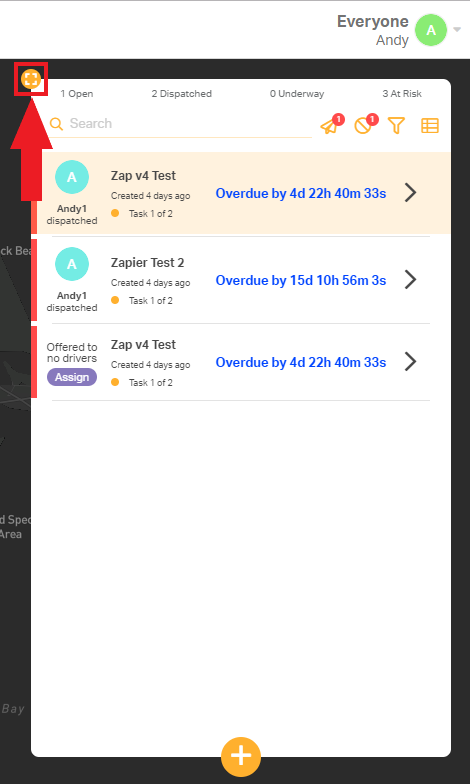
- You can toggle back to windowed mode by clicking the same icon
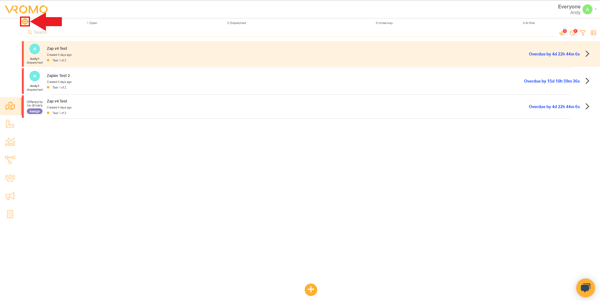
- To make the Job list panel full-screen, select the Full-Screen icon on the top left of the Jobs list panel
-
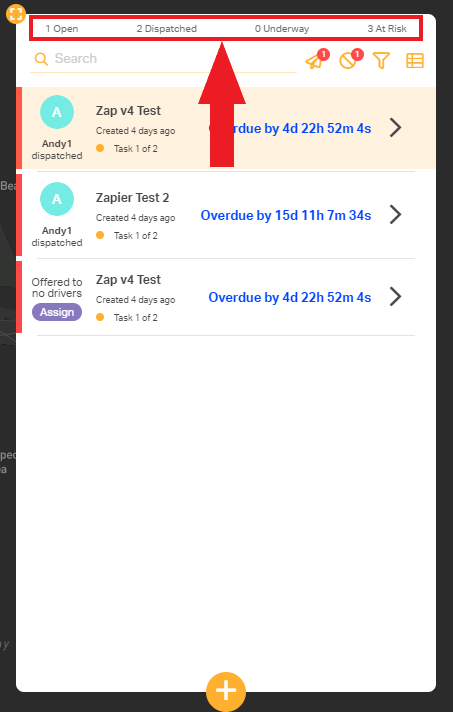
Job Overview
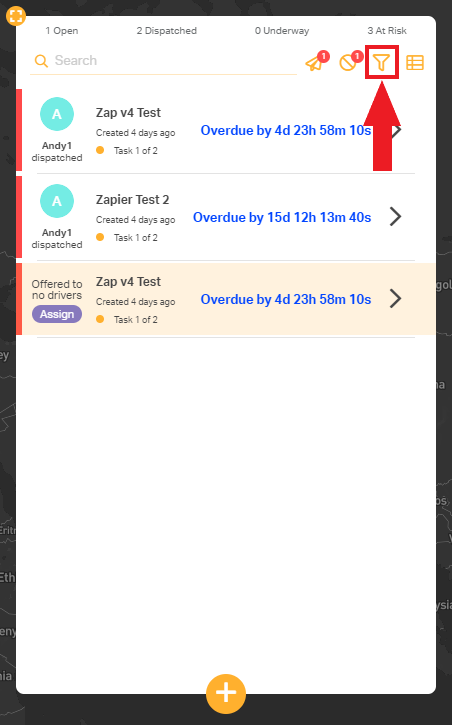
- For a quick overview of job statuses, there is a Job Overview section at the top of the Jobs list panel. This overview displays the number of unassigned jobs, assigned jobs, underway jobs, and "at risk" jobs which are or may be late according to their deadlines.
- For a quick overview of job statuses, there is a Job Overview section at the top of the Jobs list panel. This overview displays the number of unassigned jobs, assigned jobs, underway jobs, and "at risk" jobs which are or may be late according to their deadlines.
-
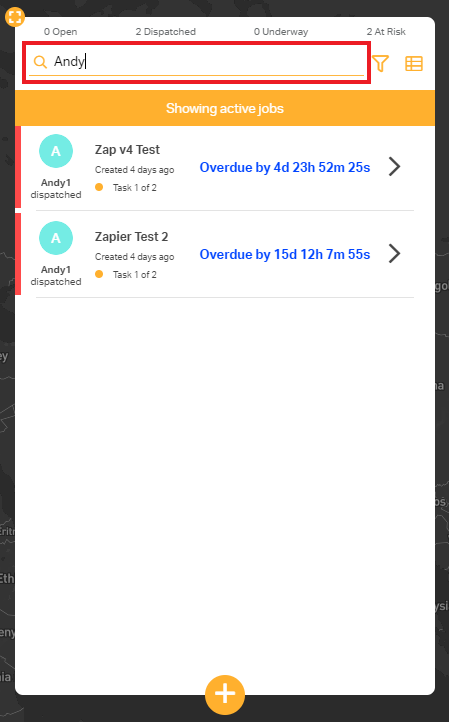
Search Jobs
-
To search for jobs by job name or driver name, type into the Search text field
-
To search for jobs by job name or driver name, type into the Search text field
-
Filter Jobs
- To open the Job filters, click the funnel icon in the Jobs list panel
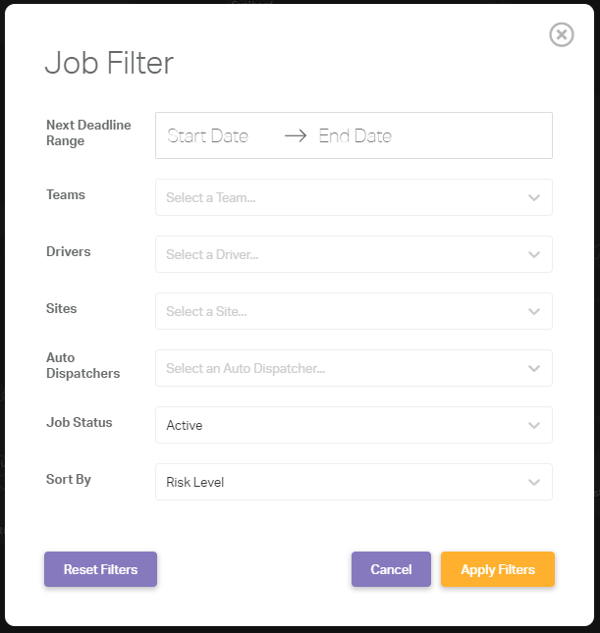
- In the resulting popup, you may now select the parameters to filter by
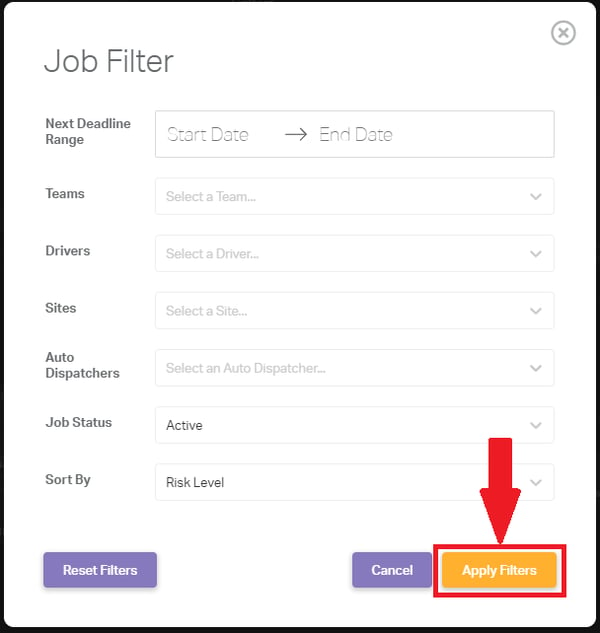
- Select your filters and click the "Apply Filters" button to confirm your changes
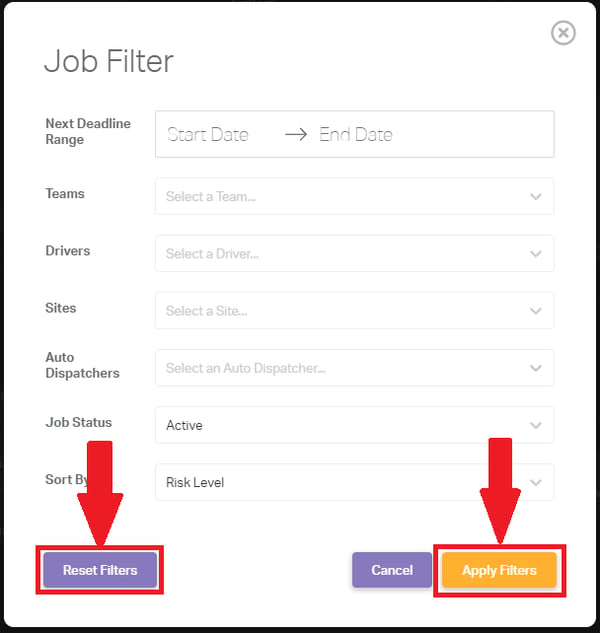
- To reset the filters back to default, click the "Reset Filters" button and confirm by pressing the "Apply Filters" button
- To open the Job filters, click the funnel icon in the Jobs list panel
-
Table View
- For an alternative view for the Jobs list panel, click the "table" icon
- The panel will change to a tabular format as follows. This can be scrolled horizontally using the horizontal scroll bar at the bottom
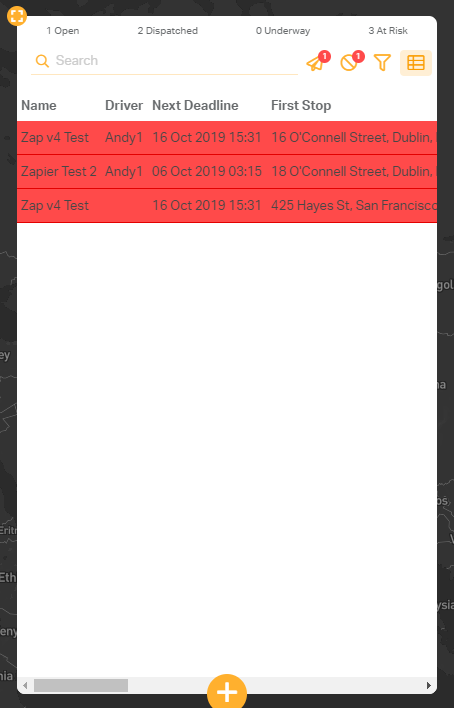
- This view may be more useful using the full-screen mode described above
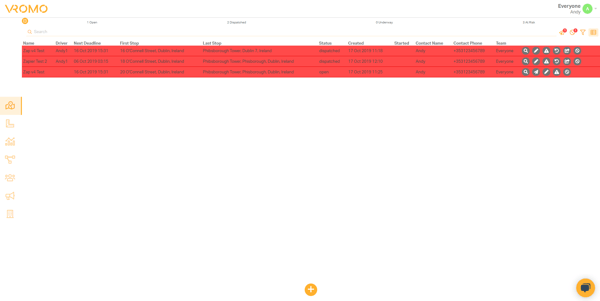
- For an alternative view for the Jobs list panel, click the "table" icon
-
Bulk Assign and Cancel Jobs
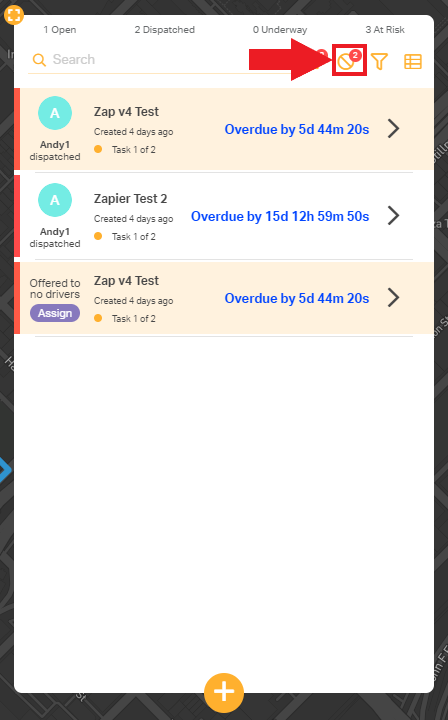
- To select multiple jobs to assign or cancel, hold "Ctrl" and click on each job. Click on a job again to deselect. This can be done from either the normal view or the table view. The slightly yellow/orange colour shows the job is selected.

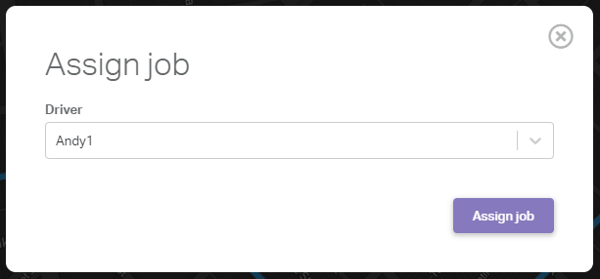
- To assign your selected jobs, select the paper aeroplane icon
- In the resulting popup, select the Driver you wish to assign the job to
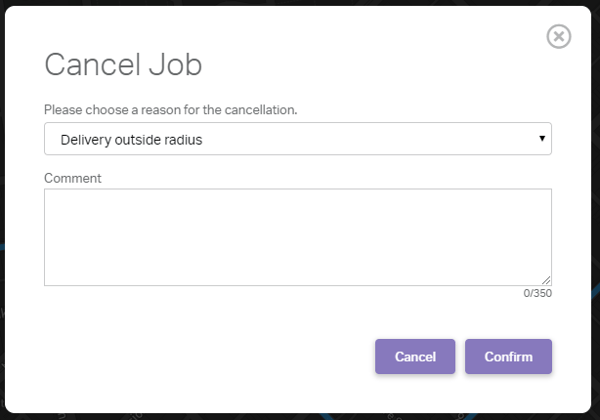
- To cancel your selected jobs, select cancel icon
- In the resulting popup, select your reason for cancelling the job and optionally add a comment to the reason
- To select multiple jobs to assign or cancel, hold "Ctrl" and click on each job. Click on a job again to deselect. This can be done from either the normal view or the table view. The slightly yellow/orange colour shows the job is selected.
-
Reallocate Jobs/Recall Jobs
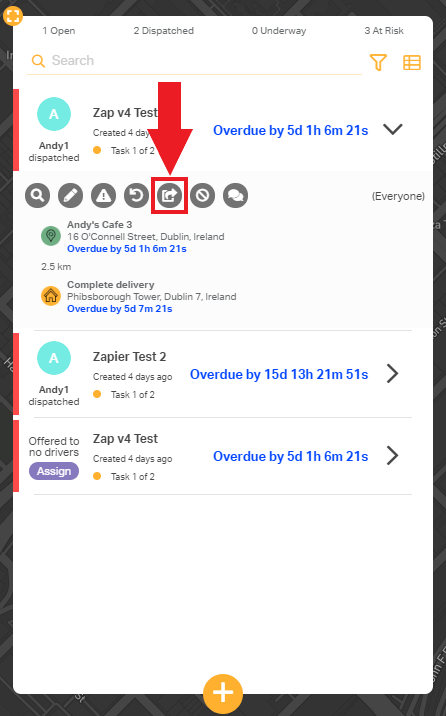
- To reassign a Job to another driver click the reallocate icon on the Job
- In the resulting popup select your other driver and click "Assign"

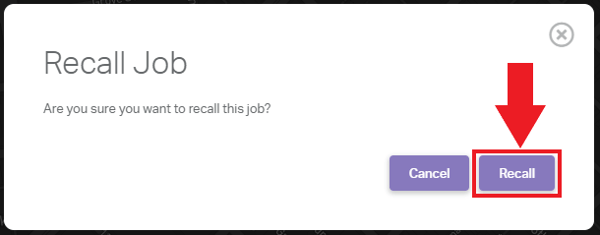
- To recall a Job from a driver, sending the Job back into the unassigned list
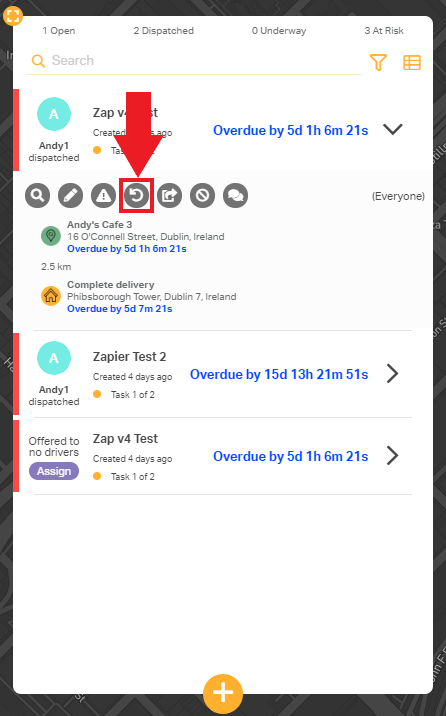
- Confirm you wish to recall the Job
- To reassign a Job to another driver click the reallocate icon on the Job
-
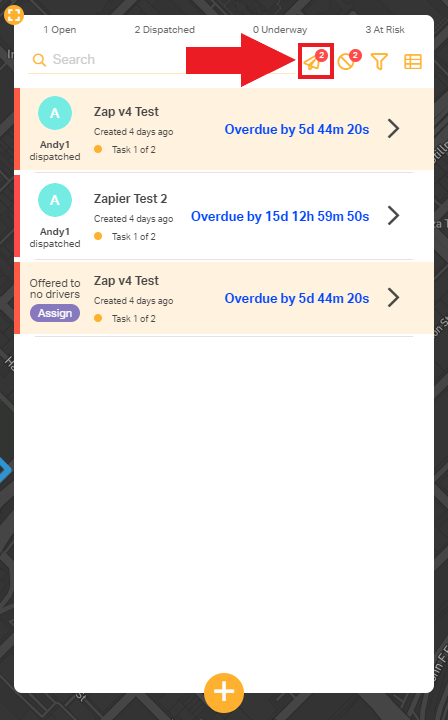
Adding and Resolving Issues
- You can attach an "issue" to a Job to highlight to drivers or other Dashboard Users, or a driver can do so to bring to a Dashboard User's attention to any issues with their Job
To do so, click the "Add Issue" icon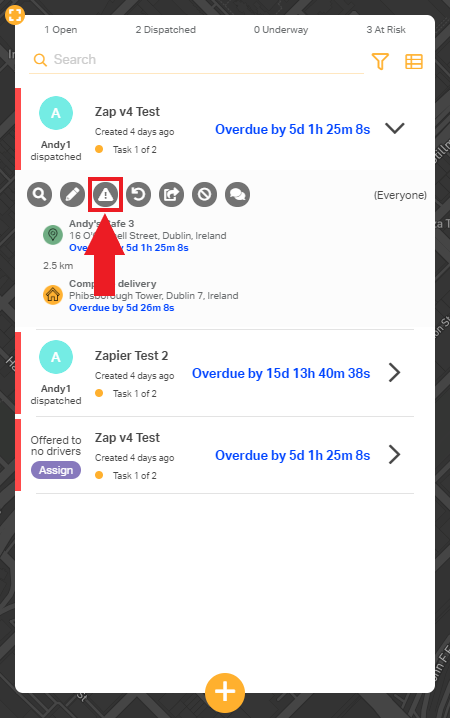
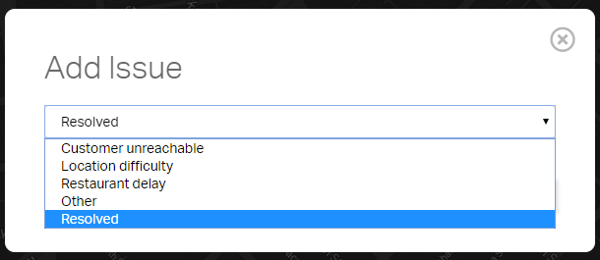
- In the resulting popup select the applicable issue type and click "Add" to submit. Once the issue has been resolved, select the "Resolved" issue type and "Add"
- You can attach an "issue" to a Job to highlight to drivers or other Dashboard Users, or a driver can do so to bring to a Dashboard User's attention to any issues with their Job
- To create Jobs, follow the instructions in this article